Installation
Gladys is a small server written in Node.js. It’s built to run on Linux, Windows or Mac. But I recommend running Gladys on a Raspberry Pi.
The Raspberry Pi is a small computer, which works amazingly for home control, it is :
- Affordable (35$)
- Quiet (no fan)
- Low power consumption
- Powerful (1.2GHz 64-bit quad-core ARMv8 CPU, 1Go RAM)
- All connectivities are built-in (Wi-Fi, Bluetooth 4.1 LE, Ethernet, 40 GPIO pins, 4 ports USB, Full HDMI port)
If you don’t have one, just get started with a Raspberry Pi starter kit.
Image installation
To install Gladys on your Raspberry Pi, you just have to use the pre-built Raspbian image.
The first step is to download Gladys Raspbian image : Download Gladys Raspbian Image for Raspberry Pi on GitHub
If the download is slow or not working, you can use our official mirror => Download Gladys Raspbian Image on Official mirror
And unzip the downloaded zip file to get a “.img” file.
Then, you just have to clone this image on the SD card you want to use with you Raspberry Pi.
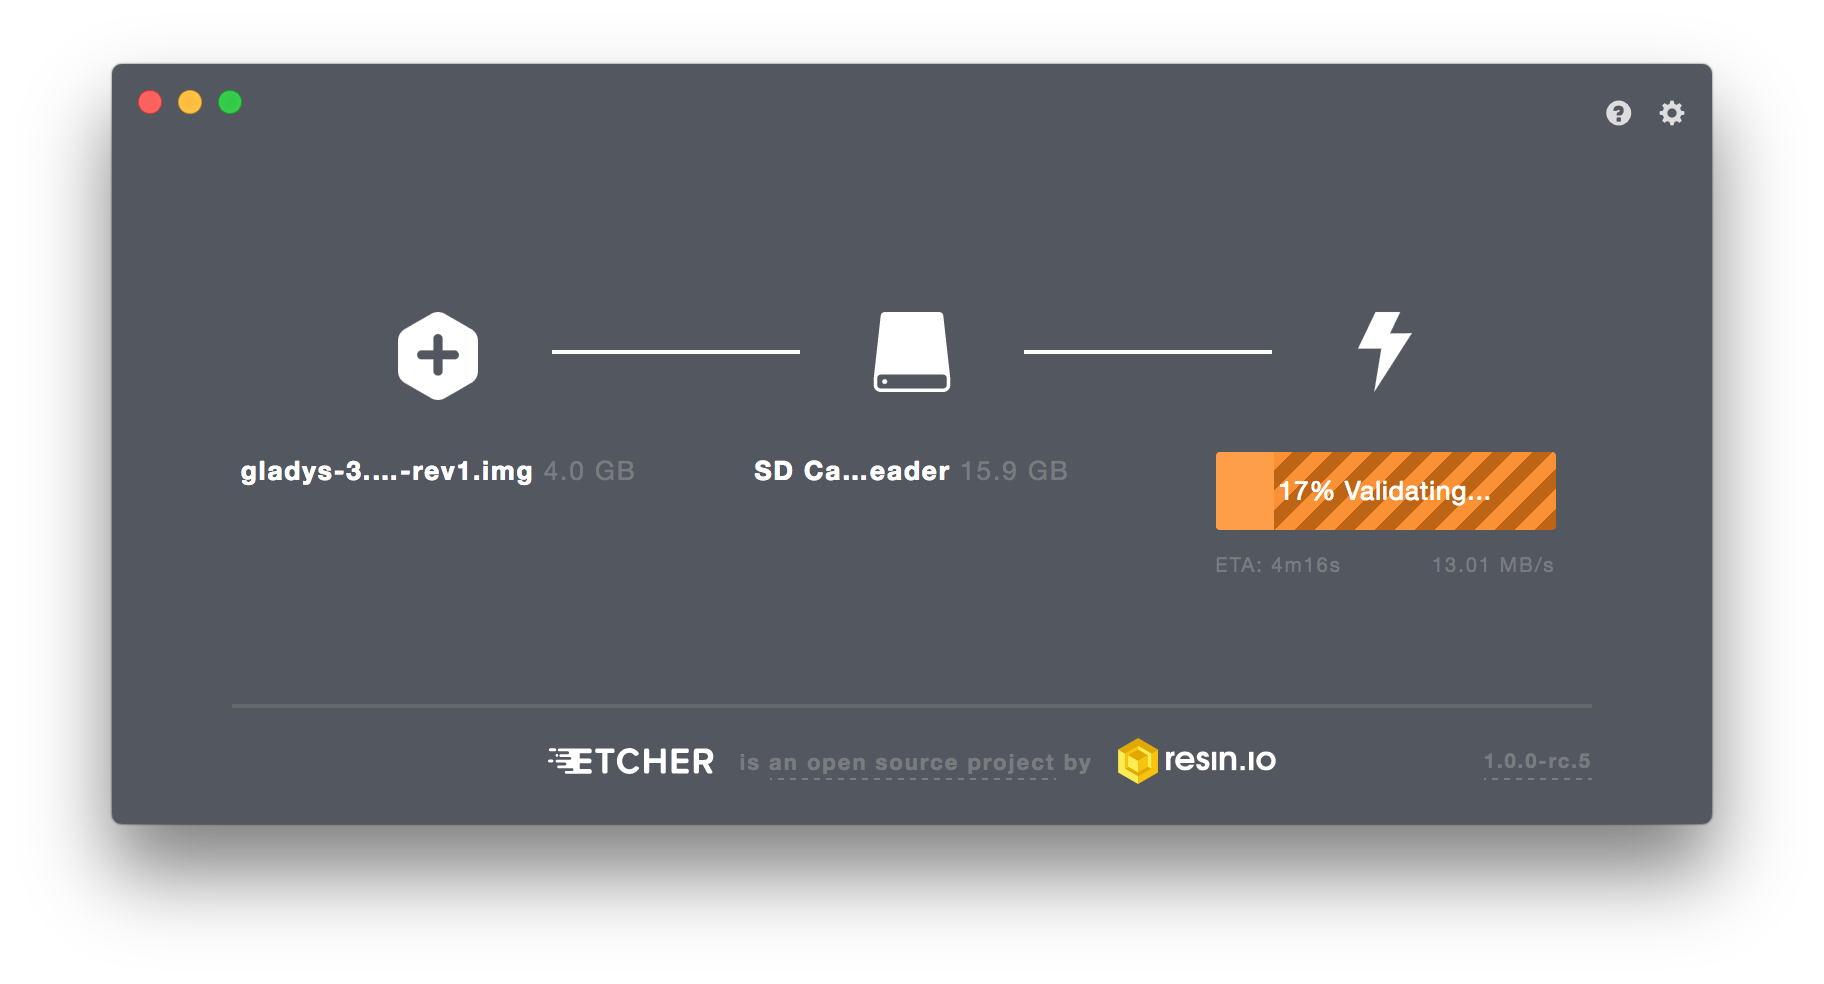
I recommend the software Etcher (Linux/MacOS/Windows compatible).
Install Etcher, plug your SD card into your computer, and clone the .img file on your SD card.
Finally, all you have to do is to connect your Raspberry Pi to your local network (with an Ethernet cable for example), and to turn it on.
Last step is to expand the partition on the SD card. If you don’t do it, the system won’t have access to the full size of your SD card, and you will run out of disk space.
Expanding the SD card is really easy. You have to connect to your Raspberry Pi (directly or through SSH). If you don’t know how SSH works, there are some great tutorials for Windows and Mac/Linux.
Credentials are the same that the default Raspbian image (user : pi, password : raspberry).
When you are connected, you just need to execute :
sudo raspi-config
And select option 1 => “1. Expand Filesystem”. The system will ask you to reboot, press “yes”.
And that’s all ! Gladys is ready :)
Accessing Gladys
To access Gladys, open your favorite browser, on any computer on the local network your Raspberry Pi is connected. Then enter the URL :
http://gladys.local
You should arrive on Gladys web interface where you can configure your account !
Note : If it doesn’t work, you can access Gladys directly by typing the IP of your Raspberry Pi in your browser. To find the IP, just type ifconfig on the Raspberry Pi shell, or you can use a network scanner app to find the IP (Network Scanner on Android or iNet on iOS)
Manual installation
Coming soon..
Docker installation
Supported architectures
amd64, arm32v6, arm64v8, i386, ppc64le, s390x
Supported tags
latestv3(Major version)v3.x.x(Version)
Maria DB Container
docker run --name gladys-mariadb \
--restart=always \
-e MYSQL_ROOT_PASSWORD=mysecretpassword \
-e MYSQL_DATABASE=gladys \
-d mariadb:latest \
--character-set-server=utf8mb4 \
--collation-server=utf8mb4_general_ci
Informations:
--restart=always=> Always restart the container if it stops.-v /var/lib/mysql:/var/lib/mysql=> Mounting volumel for persisting data generated by Gladys in MariaDB-e MYSQL_ROOT_PASSWORD=mysecretpasswordand-e MYSQL_DATABASE=gladys=> Environment variable that define database name for Gladys and root password-d=> Run container in background and print container ID.
Database Initialization
docker run --rm \
-e NODE_ENV=development \
-e MYSQL_HOST=mariadb \
-e MYSQL_PASSWORD=mysecretpassword \
-e MYSQL_PORT=3306 \
-e TZ=Europe/Paris \
--link gladys-mariadb:mariadb \
gladysproject/gladys:v3 \
node init.js
Informations:
This temporary container create the database scheme by running init.js script from Gladys app.
Automaticaly deleted after execution.
Gladys container
docker run --name gladys-node \
--restart=always \
-p 80:8080 \
-e NODE_ENV=production \
-e MYSQL_HOST=mariadb \
-e MYSQL_PASSWORD=mysecretpassword \
-e MYSQL_PORT=3306 \
-e TZ=Europe/Paris \
--link gladys-mariadb:mariadb \
-d gladysproject/gladys:v3
Informations:
-p 80:8080=> Forwarding host port 80 to container port 8080, Gladys will be accessible from your browser on port 80 (default http port).-e TZ=Europe/Paris=> Timezone used by container. Feel free to consult this list on wikipedia if you need to change this value.
Accessing Gladys
To access Gladys, open your favorite browser, on any computer on the local network. Then enter the URL :
http://IP_OF_DOCKER_HOST
You should arrive on Gladys web interface where you can configure your account !